JIRA integration
Buglife can automatically push newly created bug reports to your JIRA instance. To configure Buglife integration with JIRA, click the **Integrations** tab on the Buglife web dashboard, then click **JIRA**.
JIRA integration can be configured using your JIRA username & password, or via OAuth.
Pushing bug reports to JIRA projects
Buglife's JIRA integration can be configured to push all bug reports to one JIRA project, or to push individual bug reports to different projects depending on context or user input. For example, you may choose to have a picker view in the bug reporter form that allows your users to select which JIRA project to send bug reports to. Or you may choose to programmatically set the JIRA project within your app based on the screen from which the bug reporter was invoked.
During initial Buglife-JIRA integration configuration (on the Buglife web dashboard), you'll be prompted to select which JIRA project you'd like all bug reports to be pushed to by default.
Adding a JIRA project picker UI
To add a user-facing JIRA project picker to the bug reporter form, create a custom picker field using the constant LIFEAttributeKeyJiraProjectKey as the attribute name, and your JIRA project keys as options.
let summaryField = LIFETextInputField.summary() // Standard "what happened?" field
let pickerField = LIFEPickerInputField(attributeName: LIFEAttributeKeyJiraProjectKey)
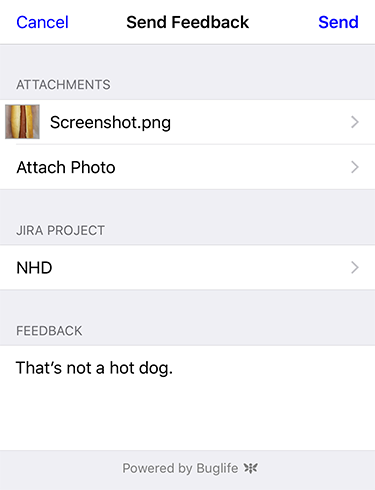
pickerField.setOptions(["AVI", "HOO", "NHD", "PIE", "SEA"])
Buglife.shared().inputFields = [summaryField, pickerField]
When this field is set by a user, the value selected will override whatever project was selected at the time of initial integration setup.
Setting the JIRA project programmatically
In some cases, you may want to programmatically set the JIRA project key based on the current screen or context. This can be accomplished using the Buglife.setString(:forAttribute:) method, with your JIRA project key as the string value paramter and LIFEAttributeKeyJiraProjectKey as the attribute parameter.
For example:
Buglife.shared().setStringValue("PIE", forAttribute: LIFEAttributeKeyJiraProjectKey)
OAuth setup
To configure Buglife integration with JIRA via OAuth, you'll need to create an Application link.
- Log in as a system administrator and go to the administration page. Click Application Links in the administration menu.
- Click 'Add Application Link'. Step 1 of the link wizard will appear.
-
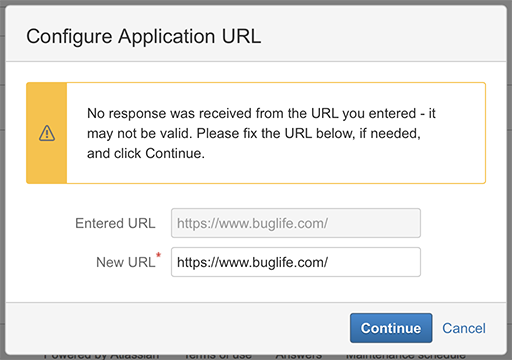
Enter
https://www.buglife.comas the server URL. -
Click the 'Next' button.
Note: You may see an alert warning you that "No response was received from the URL you entered". Simply ignore this & click the Continue button to move on.
-
In Step 2 of the link wizard, enter
Buglifeas the application name. - Select Generic Application from the Application Type drop-down menu.
- Important: Leave all other fields on this screen blank, and leave the "Create incoming link" checkbox unchecked.
- Click 'Continue'.
- Once your new application link has been created, click the edit button to open the Application Link editor window.
- Select the 'Incoming Authentication' tab.
-
Enter the following values for your account:
Please sign in to see your JIRA keys. - Click 'Save'.
- Go to the Buglife web dashboard. Select the app for which you wish to configure JIRA integration, then click the 'Integrations' tab.
- Create a new JIRA integration by clicking 'JIRA'.
- Enter your JIRA URL, and make sure that 'Use OAuth' is toggled ON.
- Follow the remaining steps in the Buglife integration wizard.